
Hardwood floors look beautiful and will turn your home around in terms of aesthetics. But, the perfect finish needs careful planning and an application of all the right tools with specific attention to details, especially during hardwood floor installation Phoenix.
-
Choose the Right Hardwood
Your home’s humidity, foot traffic and also existing decoration are extra factors you ought to consider. Wood options like Oak, maple and hickory offer one of the hardest wear surfaces for long-lasting charm. Places with high moisture, would do good for this engineered hardwood because it is stable.
2.Acclimate the Wood
Place the wood planks in their installation area 48 – 72 hours prior to actual installment. This process helps the wood acclimate to the temperature and humidity levels in its new space, thereby minimizing warping or gapping after installation.
-
Prepare the Subfloor
A proper prepared subfloor is essential for the smoothest of installations. Check that the subfloor is clear, dry, and level. Pull up any existing flooring materials, nails or debris. If the sub-floor is not level, use a leveling compound to produce an even surface.
-
Gather the Right Tools
The first step is to make sure you have the proper tools available prior to installation. The right tools for the job are a tape measure, chalk line, miter saw and table saw along with your pneumatic nail gun and rubber mallet. It is helpful to have spacers, wood glue and a moisture meter in addition.
-
Plan the Layout
Before hammering in the first nail, think your hardwood floor layout through. Choose the direction of the planks that usually runs parallel to your longest wall or to where most natural light comes from. This way, the room looks better.
-
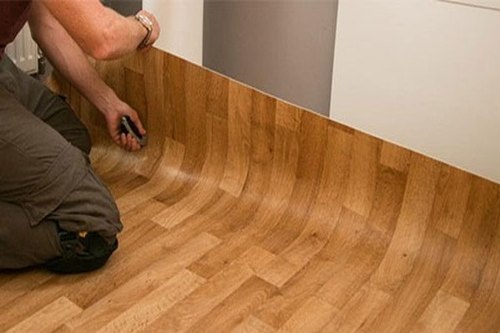
Install with Precision
Begin installation with the longest, straightest wall and leave a small expansion space between the first row of planks and your walls. Insert spacers inside this gap,that will allow wooden growth and contraction contingent on dampness conditions.
-
Finish and Protect
When all the planks are installed, simply remove the spacers and install baseboards or molding to cover those expansion gaps. Sand and refinish the floor if necessary, apply a coat of protective sealant for added strength and shine. With regular maintenance, including sweeping and an occasional refinish, your hardwood floors will keep looking just as beautiful for many years to come.
A seamless installation of hardwood flooring takes careful preparation, meticulous workmanship and regular maintenance. As long as you select a floor with the proper type of materials, acclimate the wood for a time period relative to what is recommended by your supplier, and ensure the subfloor has been appropriately prepared to be sound and dry enough under normal circumstances, hardwood floor installation Phoenix can be achieved successfully.